
In the words of Eric Ries, “MVP is that version of a new product which allows a team to collect the maximum amount of validated learning about customers with the least effort”. Simply put, a Minimum Viable Product (MVP) is a prototype or minimal form of your product to be tested in the market.
It basically just has enough features to satisfy early customers and provide feedback for the future development of the product.
Find Cool Tech Company Names On A .tech Domain!
It is preferred because it’s much cheaper than developing a complete product which might fail later.
Once you know it’s going to work in the market, only then you invest in the complete development of the product with or without the necessary changes.
Why Build A Minimum Viable Product?
Building an MVP follows a ‘build-measure-learn’ process, which lets you lets you build a product that can be constantly improved as you understand the user’s needs.
The process then leads to measuring and learning by validating or invalidating certain assumptions that help to create future iterations of your product that serve your customers better.
In mobile app development, it’s a method where you can develop just the core functionalities to solve a specific problem and satisfy the early users.
In some instances, it can be used to even showcase your business potential and win the stakeholder buy-in.
A Minimum Viable Product strengthens your position in getting support from both internal and external investors, as it proves your product’s merit.
Below are a few steps which you can follow to build a Minimum Viable Product.
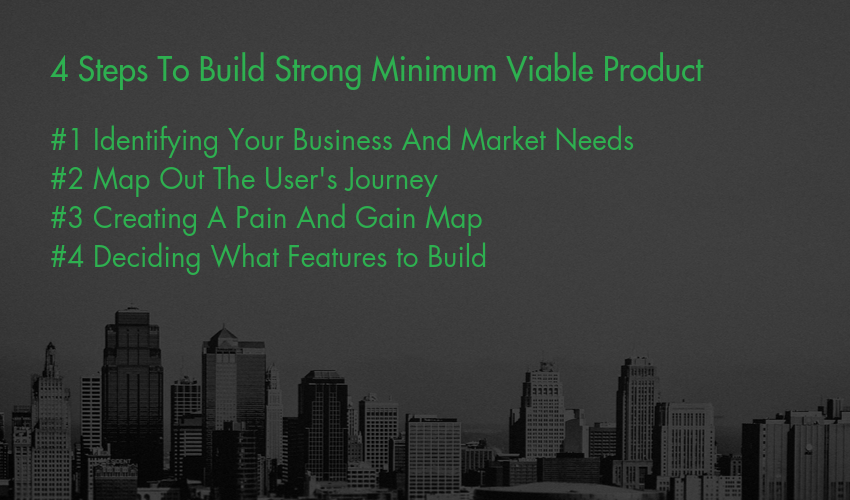
4 Steps To Build Strong Minimum Viable Product
#1 Identifying Your Business And Market Needs
The first thing to do is to identify whether there is a need for your product in the market. You need to ask yourself why would your target audience buy and use your product.
The best way to find an answer to this is to put yourself in the shoes of your buyer and think about your personal challenges. If there is a better solution to the problem at hand.
You can also study the market and try to understand the underlying problems in a particular segment and the existing solutions to those problems.
For instance, hiring a car was expensive and tedious for people. Uber made comfortable commuting affordable and gave an efficient solution to a problem that people were facing across the globe.
You should also study who your competitors are and what they are offering. This way, you can define a way for your product to stand out. Determining a long term goal is another important aspect.
You need to identify what is going to define the success of your product in the long term.
Start by estimating how your product is going to solve the problem, and how much business it will generate for you.
Key Takeaway: If your product is solving a problem and making things simpler and more cost-effective for people, you are providing them with a great solution.
Find Cool Tech Company Names On A .tech Domain!
#2 Map Out The User’s Journey
It’s important to look at your product from the user’s perspective – right from opening the app until the last step.
It will give you an insight into how to design your product in a way to make it convenient for users. It also helps you to ensure user satisfaction.
Consider the below-mentioned items during this step:
- Identify the user
Determine the category of your user. Sometimes it may be possible to have more than one category.
For example, in case of a service providing app, you may have one requesting the service, and the other providing the service.
- Identify actions
Identify the number of actions or steps the user needs to take in order to achieve the goal they have set out to achieve by using your product.
While planning your MVP, you might want to focus on the user who has the most jobs, or even on multiple users at the same time.
- Identify story endings
For every user, there is a story ending. The story ending is nothing but the end goal for the user while using your product.
For example, the goals of an online shoe selling app would be, “find shoes,” “buy shoes,” “manage orders”, and “receive orders”. And the ultimate story end would be to enable users to buy shoes online.
Key Takeaway: Your user’s journey should be simple and seamless. If there are any complicated steps or unnecessary squabbles that deter the user from obtaining what he/she is using your product for, then those need to be eliminated or replaced with easier functionalities.
#3 Creating A Pain And Gain Map
After the above-mentioned steps, it’s important to identify all the user’s pain points. You would also need to understand all that the user is going to achieve when each of them is addressed.
It lets you understand where exactly you have the maximum potential to add value. By doing this study, you can perfect your MVP in the areas that are more impactful and leave the less impactful ones to the product roadmap for future iterations.
Below is what a pain and gain map would look like, in the case of a service providing app:
- Pains: Trouble viewing appointment availability
- Action: Book Appointment
- Gains: View available appointments and book immediately
Key Takeaway: Understand what pain points your customers are facing and where your MVP can address those issues best. Don’t try and solve all the problems in one go; simply focus on the most apparent and crucial ones.
Find Cool Tech Company Names On A .tech Domain!
#4 Deciding What Features to Build
This step requires you to mainly prioritize the features of your product and decide what all to include in the Minimum Viable Product.
It’s sort of a dilemma between “what the user wants” and “what the user needs”.
Including a lot of user-requested features might take away the overall purpose of the product.
Hence only those features should be implemented which would result in your product’s ultimate goal.
- Opportunity Statements
You will want to create feature sentences at this stage in the MVP development process with the help of opportunity statements.
For example, in the service providing app, the opportunity statement of how to expedite the process of application could be made.
- Breaking Down Features
You can list down the user and the specific opportunity statements, and then provide a breakdown of the features to be included in the product roadmap.
- Prioritization Matrix
The matrix would have a horizontal row showing main process stages and under each stage would be several features of that stage.
You can then draw a downward vertical arrow from ‘high priority’ at the top to ‘low priority’ at the bottom of the columns. You can then start arranging features by their respective priorities.
The crucial stories can come upwards in the column and the others downwards. But the focus needs to be on the overall process.
Once you have prioritized all the features, you can define their scope for the first version of the product and proceed to build a Minimum Viable Product.
Key Takeaway: Once you’ve identified the opportunity and the pain point, you need to include a host of meaningful features that solve the problem your product wishes to address. Prioritize what features to include without going overboard so as to deviate from the actual purpose of the product.
Final Thoughts
By now you have a strong foundation in place to build a minimum viable product.
You have identified and understood your business or customer needs; found the opportunity to address the pain points; decided what features to build and prioritized them.
All you need to do now is get your MVP to the market. After you launch your Minimum Viable Product, the most important thing to do is to take feedback from your users.
You can start with ‘Alpha testing’, by giving an alpha build of your product to a limited focus group that is your family and friends.
Then you can go ahead with ‘Beta testing’ by sending the product out in the real world to be tested by real users.
Based on the feedback from beta testing, you can implement necessary changes in the following versions of the product, making sure that only crucial changes are being made.
The users are the only people, who can help you identify what features your product is lacking and what are unnecessary.
You can continue the cycle of improving, testing, learning, measuring, building again and then repeating the steps until your product is finalized.
